NOTE
Your URI may be different depending on what you used for your username, password, database name and the hostname for the machine that's hosting your database. But, it should look similar to mine.
From the beginning of time, it seems, the community has viewed Microsoft as anti-OpenSource. The purpose of this project is multi-fold. The first goal was to deliver a solution by Microsoft at it's public Ignite event that was built using OpenSource technologies. Therefore, instead of using some flavor of .NET and/or Windows IoT Core, I chose to use offerings such as Node.js, Angular 2.0 and MongoDB.
The second purpose of this project was to facilitate the adoption of Microsoft Azure by enterprise community members who were already engaged in OpenSource projects. I wished to accomplish this by demonstrating the ease of moving the applications from an environment such as Heroku to an Azure cloud platform such as Service Fabric and to swap the data repository from MongoDB to DocumentDB. The objective was to perform these "migrations" with as little configuration changes as possible.
Finally, instead of talking about this process through concepts delivered by PowerPoint, I wanted to provide an application based on a real-world scenario. The application could be utilized by the community as a starter package in which others could contribute or use for their own projects. The scenario, in our case, is managing and tracking assets.
There are two downloads options available.
The downloadable archive has the source code for the web application and the IoT client application.
Download ZipThe Raspbian image is a pre-configured, 8GB image for the Raspberry Pi 3 Model B.
Note: The image requires Win32DiskImager which can be found here. Imaging instructions can be found on the Raspberry Pi website.
While the applications may run in other environments, the demo at Ignite was based on the prerequisites for the two components or this project:
The purpose of this section is to help you prepare the required platforms for hosting the web application and client (Raspberry Pi) application. Keep in mind that the ultimate goal of this project was to demonstrate Microsoft's adoption of OpenSource and Azure's ability to host it. Therefore, the steps below concerning MongoDB and Heroku are completely optional and are denoted as such.
Download the project using git git clone https://github.com/a11smiles/IoT-Asset-Management.git.
Once the project is downloaded, there are two separate folders:
/pi - contains the client application deployed to a Raspberry Pi/webapp - the Node.js/Angular 2.0 web siteFor demonstration purposes, I used mlab.com to host my sample main repository. This repository is responsible for storing application users and managed assets. If you don't currently have an available MongoDB database (including locally hosted) and would like to test it's capabilities, mlab.com is a great, free choice.
Let's go ahead and create a sample database for our application so, first, go create a free account and confirm your email address. Now, follow the steps below to create your database and access credentials.


mongodb://testadmin:testpassword@ds019946.mlab.com:19946/iot-assetsYour URI may be different depending on what you used for your username, password, database name and the hostname for the machine that's hosting your database. But, it should look similar to mine.
As many enterprises are regularly using Heroku for hosting their Node.js applications, I, again, wanted to do the same. As stated earlier, this step is optional.
In order to host our application we'll need to create an "app" in Heroku so, first, go create a free account and confirm your email address. Now, follow the steps below to setup the hosting environment for our Node.js application.
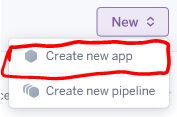
Whatever you name your application will be the hostname within your app's URI. (i.e. http://my-app-name.herokuapp.com)
DocumentDB is Microsoft Azure's NoSQL database platform. It will serve two purposes within our application.
First, DocumentDB, if we choose to use it instead of MongoDB, will serve as our main repository to hold our application's users and assets. Because Microsoft Azure provides a MongoDB connector for DocumentDB, it is very easy to switch between the two databases.
DocumentDB will also be the repository that holds all of our location data for our Bluetooth LE (RadBeacon) devices. Azure's IoT Hub coupled with Stream Analytics will pass the data into DocumentDB.
Currently, the MongoDB connector for Azure's DocumentDB is in preview. Thus, there is some reduced functionality by using DocumentDB for the main database. This can affect performance and security. Until the connector has greater compatibility and enters "General Availability," it is recommended that MongoDB is used for the main repository.
If you haven't done so already, create an Azure account at https://azure.microsoft.com/. Then, login to your portal to begin.
 to create a new resource.
As stated in the above warning, DocumentDB - Protocol Support for MongoDB offers support to use DocumentDB with native MongoDB client libraries. If you'd like to use DocumentDB for the primary repository - or even test its functionality - then you'll need to create a DocumentDB with support for the MongoDB protocol. If you'd prefer to stick with MongoDB as the primary repository, then choose DocumentDB without support for the MondDB. Below are the options for each type of DocumentDB repository.
Follow these steps to set up the repository that is only used by the reporting IoT devices.
You should only follow these instructions if you wish the test DocumentDB's support for the MongoDB protocol for the application's primary repository.
The DocumentDB database you created in the previous section will host our various document collections.
The Pi Messages collection is responsible for storing all of our incoming messages (i.e. bluetooth beacon locations) from our Raspberry Pi's.

You now have the messages document repository created.
The web application collection is optional and should only be used if you 1) do not wish to use MongoDB as your main repository; and 2) you've created your DocumentDB with the MongoDB protocol option.
Repeat the above steps to create also collection with an ID of users and use the database you just created, named app.
The IoT Hub serves as the receiving endpoint for all incoming messages from the Pi. Unlike a typical web service, with IoT Hub, things like scalability and failover are baked in. IoT Hub can handle 100,000+ requests/sec.
It may take a little bit to create the IoT Hub, so be patient.
Once the IoT Hub creation process has finished, we need to define an access policy so that our Stream Analytics job can connect and read data.
Stream analytics acts as a middleware processor for our data. It, itself, really doesn't do anything to our data. Instead, it relies on other functionality within Azure. Stream analytics simply gives us the mechanism to "hook up" Azure components to our middleware.
As with the IoT Hub, it may take a few minutes to create the Stream Analytics job. Once it has been created, we need to wire the necessary Azure features into the pipeline. There are three major parts to this exercise: 1) the Inputs; 2) the Query; and, 3) the Outputs. See the below image.

Let's configure each one of these. Before we begin, make sure that your job isn't running. It shouldn't be because we've not yet defined inputs and outputs, but verify in case you've already completed these steps and you're attempting the modify the settings. Also, we'll need to configure the inputs and outputs first before we complete the query.
SELECT
    *
INTO
    [docdb-output]
FROM
    [iot-hub-input]
You can now start the Stream Analytics job by clicking on "Start" on the Stream Analytics pane.
This section is to assist you with setting up and configuring your Raspbian Pi. The setup is based on a Raspberry Pi 3 Model B. If you downloaded the pre-configured image from above (e.g. not building from a virgin Raspbian Pi image), then you may skip this section and move to the configuration section for the actual client applications.
The Raspbian Jessie image comes pre-installed with Node v0.10.29. However, NPM is not installed. In order to download dependencies, we're going to need to: 1) upgrade Node; and, 2) install NPM.
sudo apt update
                                                wget https://nodejs.org/dist/v4.5.0/node-v4.5.0-linux-armv7l.tar.gz

                                                sudo mv node-v4.5.0-linux-armv7l.tar.gz /opt

                                                cd /opt

                                                sudo tar -xzf node-v4.5.0-linux-arm7l.tar.gz

                                                sudo mv node-v4.5.0-linux-arm7l nodejs

                                                sudo rm node-v4.5.0-linux-arm7l.tar.gz

                                                sudo rm /usr/bin/node

                                                sudo ln -s /opt/nodejs/bin/node /usr/bin/node

                                                sudo ln -s /opt/nodejs/bin/npm /usr/bin/npm
The iBeacon location packages allows your Pi to communicate with iBeacon devices and understand their specific payload.
sudo apt-get install bluez-hcidump
The Bluez libraries are a dependency library written in C++ that provides connectivity to Bluetooth LE (low-energy) devices.
sudo apt-get install -y libusb-dev libdbus-1-dev libglib2.0-dev libudev-dev libical-dev libreadline-dev
                                                wget http://www.kernel.org/pub/linux/bluetooth/bluez-5.41.tar.xz

                                                sudo tar -xvf bluez-5.41.tar.xz

                                                cd bluez-5.41
                                                sudo ./configure

                                                sudo make

                                                sudo make install
systemctl status bluetooth
                                                ● bluetooth.service - Bluetooth service

                                                   Loaded: loaded (/lib/systemd/system/bluetooth.service; disabled)

                                                   Active: inactive (dead)

                                                     Docs: man:bluetoothd(8)
sudo systemctl start bluetooth
                                                ● bluetooth.service - Bluetooth service

                                                   Loaded: loaded (/lib/systemd/system/bluetooth.service; disabled)

                                                   Active: active (running) since Mon 2016-02-29 04:56:27 UTC; 1s ago

                                                     Docs: man:bluetoothd(8)

                                                 Main PID: 715 (bluetoothd)

                                                   Status: "Running"

                                                   CGroup: /system.slice/bluetooth.service

                                                           └─715 /usr/local/libexec/bluetooth/bluetoothd
sudo systemctl start bluetooth
sudo systemctl enable bluetooth
enable with disable on the previous command.
The final step to installation is enable the bluetooth low energy features in bluez. These features are disabled by default because they are still under development and have been placed behind an experimental flag.
sudo nano /lib/systemd/system/bluetooth.service
                                                [Unit]

                                                Description=Bluetooth service

                                                Documentation=man:bluetoothd(8)

                                                ConditionPathIsDirectory=/sys/class/bluetooth


                                                [Service]

                                                Type=dbus

                                                BusName=org.bluez

                                                ExecStart=/usr/local/libexec/bluetooth/bluetoothd

                                                NotifyAccess=main

                                                #WatchdogSec=10

                                                #Restart=on-failure

                                                CapabilityBoundingSet=CAP_NET_ADMIN CAP_NET_BIND_SERVICE

                                                LimitNPROC=1


                                                [Install]

                                                WantedBy=bluetooth.target

                                                Alias=dbus-org.bluez.service
                                                [Unit]

                                                Description=Bluetooth service

                                                Documentation=man:bluetoothd(8)

                                                ConditionPathIsDirectory=/sys/class/bluetooth


                                                [Service]

                                                Type=dbus

                                                BusName=org.bluez

                                                ExecStart=/usr/local/libexec/bluetooth/bluetoothd --experimental

                                                NotifyAccess=main

                                                #WatchdogSec=10

                                                #Restart=on-failure

                                                CapabilityBoundingSet=CAP_NET_ADMIN CAP_NET_BIND_SERVICE

                                                LimitNPROC=1


                                                [Install]

                                                WantedBy=bluetooth.target

                                                Alias=dbus-org.bluez.service
sudo systemctl daemon-reloadsudo systemctl restart bluetooth
                                                ● bluetooth.service - Bluetooth service

                                                   Loaded: loaded (/lib/systemd/system/bluetooth.service; disabled)

                                                   Active: active (running) since Mon 2016-02-29 04:56:27 UTC; 1s ago

                                                     Docs: man:bluetoothd(8)

                                                 Main PID: 715 (bluetoothd)

                                                   Status: "Running"

                                                   CGroup: /system.slice/bluetooth.service

                                                           └─715 /usr/local/libexec/bluetooth/bluetoothd --experimental
Now that the web application has been downloaded and the Raspberry Pi dependencies have been installed, we need to configure both applications. The good news is that this section is very simple - the tedious requirements have been completed.
To setup up the web application, you will need to set a few simple variables.
Find and open the file /webapp/config.js. In this file, you will find all of the application's variables. The idea when creating the application was to provide a single point of configuration instead of having to modify multiple files. Then, change the options as you prefer.
Configuring the Raspberry Pi is really a simple, two-step process. First, we need to provision the Pi in our Azure tenant. Then, we'll need to configure the monitoring application with our Pi's provisioned Id.
Find and open the file /pi/registerDevice.js. There are 2 lines that you will need to change.
device.deviceId = 'mtc-pi01';. Name your Pi device by changing mtc-pi01 to a name you prefer.node ./registerDevice.jsFind and open the file /pi/index.js. There is one line that you will need to change.
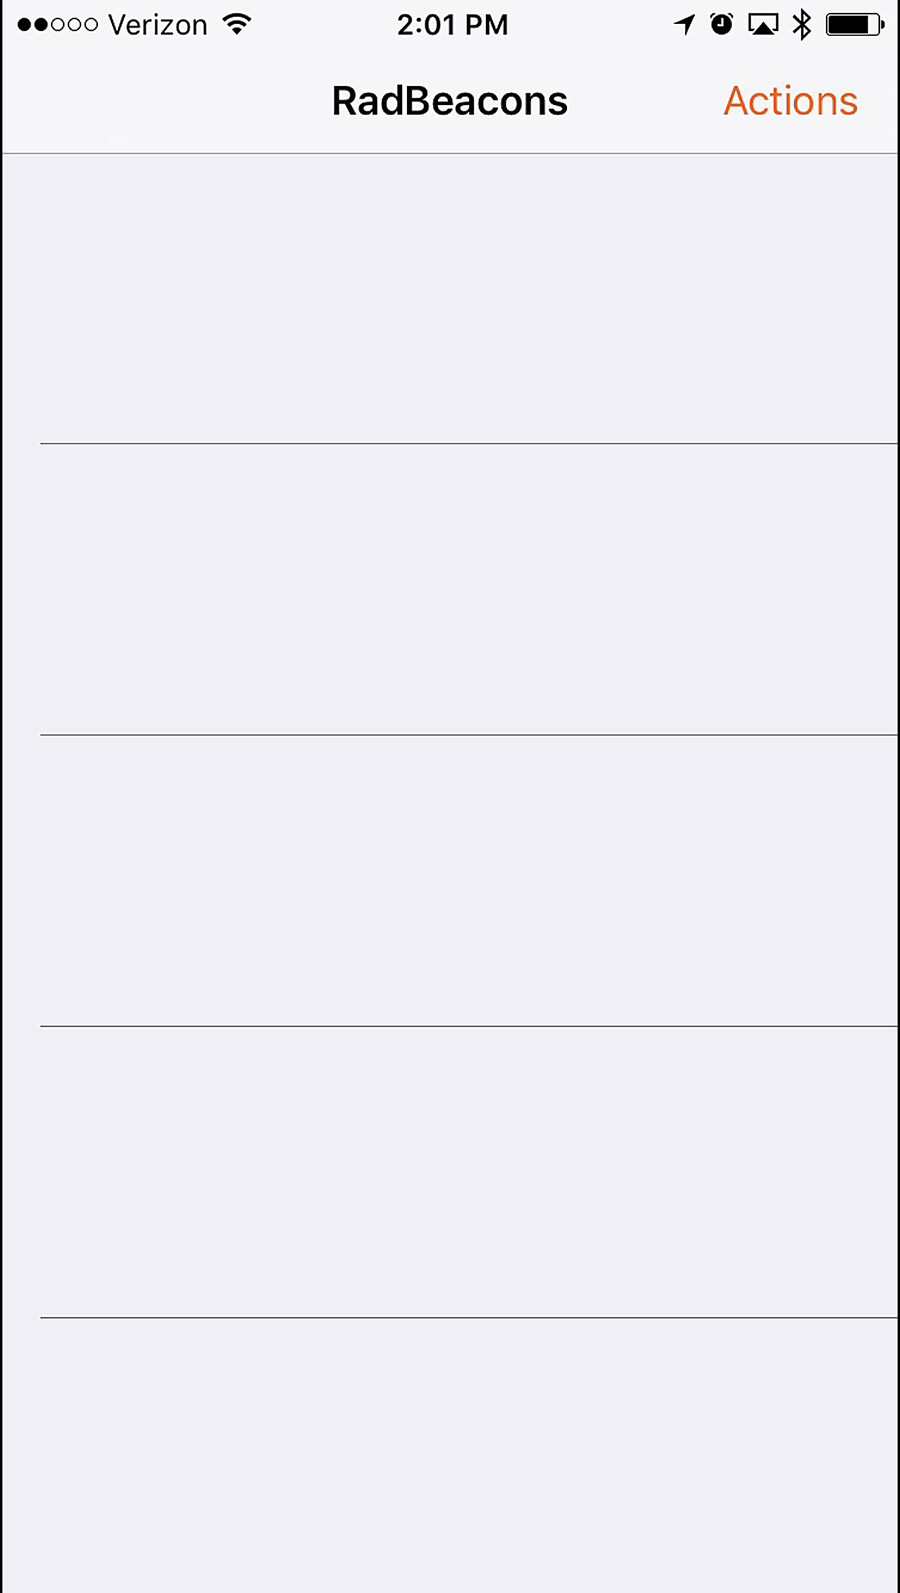
node ./index.jsYou can now set up multiple RadBeacon Dot(s) to communicate with your Pi. In order to do so, you'll need to download the RadBeacon application from your phone's marketplace. Once the configuration application has been downloaded, follow the instructions below.

All configuration steps have been completed. You are now ready to deploy the web application and start monitoring bluetooth beacons.
While you can also deploy the web application to Azure, Heroku is a nice choice for testing as it offers a completely free tier for Node.js applications. You should have already created the application in Heroku in the steps above. Deploying the project is not very difficult. You can do it via Heroku Git, GitHub or Dropbox. The default setup in Heroku is using Heroku Git, so that's what we'll use.
One thing to note is that we don't want to push all files in the repository to Heroku, just the contents of the webapp subdirectory. While we could technically split the folder into a new repository, that may not be our best option if we want to keep all files in the same repository. So, instead, we'll simply copy the subfolder to it's own directory and push that single directory to Heroku.
Finally, instead of using pure Git commands, Heroku provides a nice CLI that makes things super easy for us.
webapp folder to another folder that is outside of the parent project folder. (Because there are many different OS's, I'll let you decide how you want to do that.)git initheroku loginheroku git:remote -a <your_app_name>webapp home directory, create a file named Procfile (case-sensitive).web: node server.js
                                                git add .

                                                git commit -m "initial commit"

                                                git push
The Raspberry Pi('s) need to monitor for iBeacon broadcasts and transmit that data up to Azure. Because we've already configured the Pi('s) earlier, all we need to do is start the monitoring service.
node ./index.jsOnce the iBeacons start transmitting, you'll need to add an asset to the application and enter the UUID of the iBeacon for the asset's UUID to start seeing data in the web application.